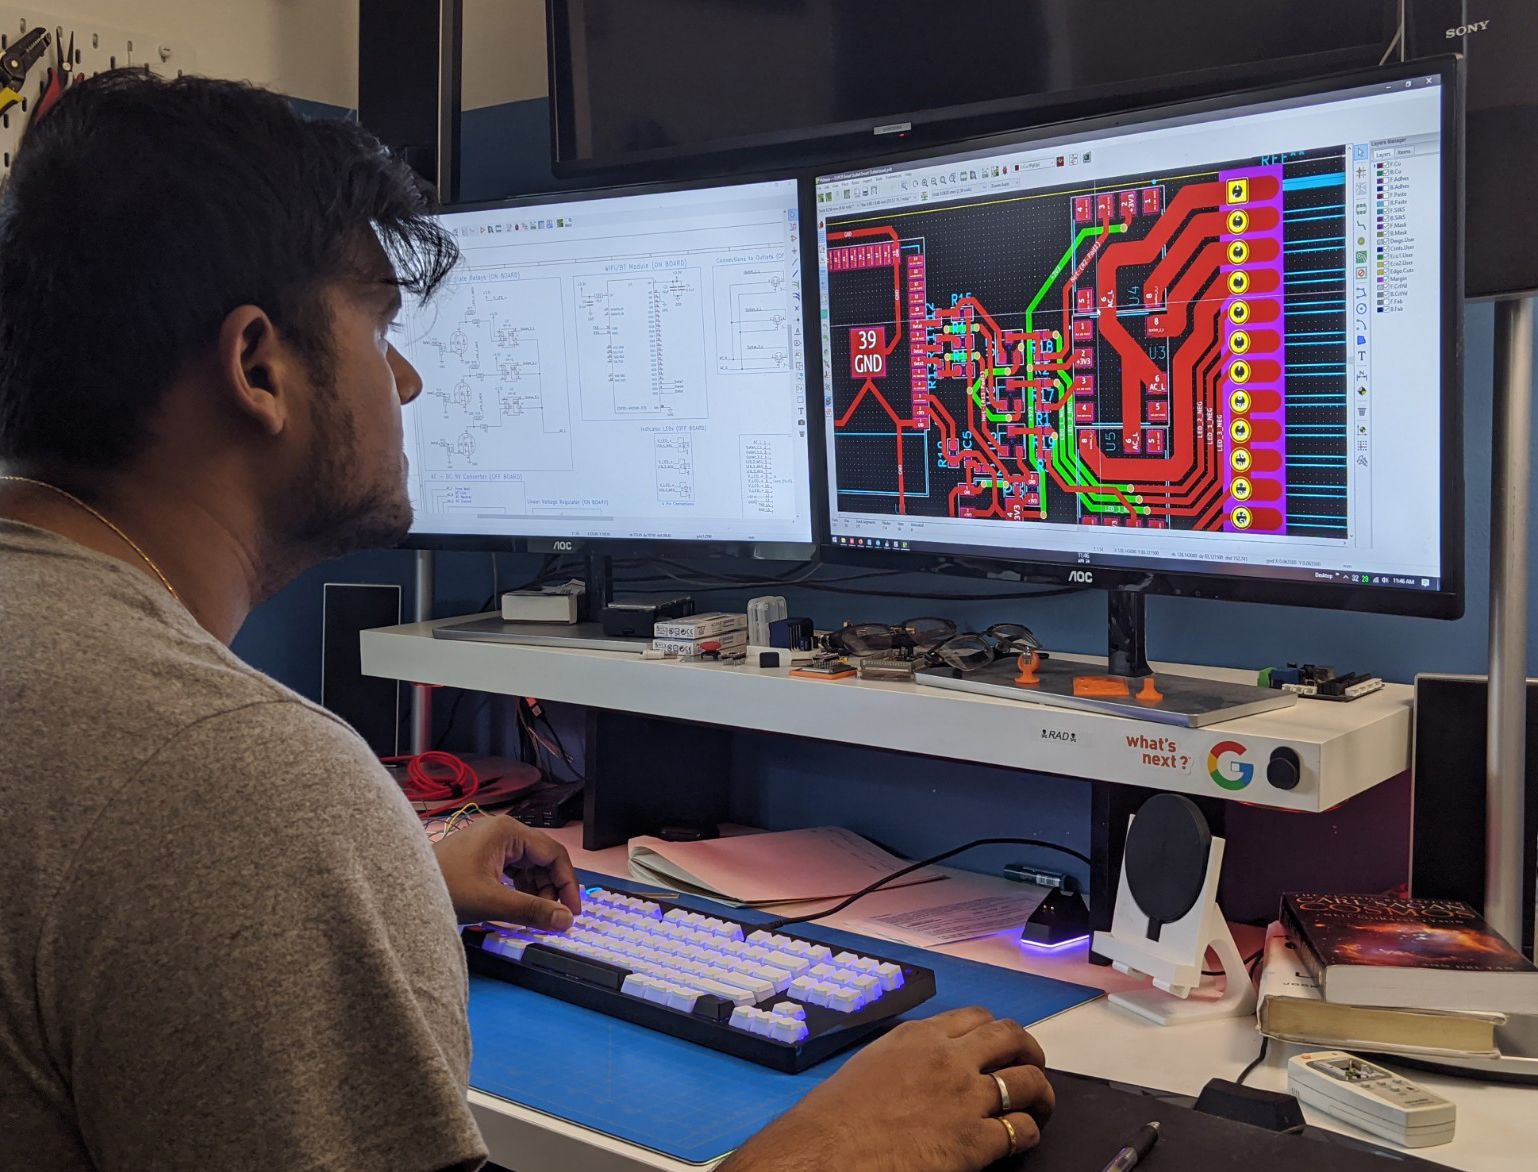
BotFactory has been building use cases to demonstrate SV2's capabilities as a rapid prototyping tool. Here we talk to our Assembly Engineer Md Raz about a recent device he made from scratch: a Smart Powerbar that allows a user to control each outlet via a web-browser. Making it with an SV2 Professional was fast - less than a week! Using alternative processes was an option, but not necessarily the best options.
Question: Who are you? Tell us a little about yourself.
Md: I am BotFactory's Assembly Engineer and I have a background in electrical engineering with a concentration in electronics and digital circuits. I enjoy seeing an idea come to life, whether that be creating a PCB design, prototyping, or programming microcontrollers.
Question: What's the origin story of the device here?
Md: We wanted to create a useful, internet-connected, smart-home device in the quickest way possible. We came up with the idea from one of our colleagues, who wanted a way to control his devices from his network, and potentially outside of his home. Using low-volume manufacturing and rapid prototyping techniques, we were able to go from idea to working custom prototype in about a week.
Question: Did you make just one design, or did you have to iterate your design? How long did it take to print each one?
Md: The final prototype took two iterations to get it right. The first iteration of the PCB design took about 3 hours to create, as it was a two layer board encompassing two conductive layers, an insulating layer, and a solder mask. Once the first iteration was printed, the components were soldered on with thermally stable solder paste, and troubleshooting brought to light a small problem with the traces going to the microcontrollers GPIO pins. The traces were quickly rerouted and the design sent back to the printer to print the next iteration. It was ready to use in a matter of about 3 hours.
Question: What slowed you down the most?
Md: Out of the entirety of the prototyping progression of this device, the most time consuming part would have to be waiting for the components to be shipped in the mail. All of the components in the bill of materials for the device were ordered once the wire schematic of the prototype was complete, and they take about four days to arrive. So during this time, things such as the PCB design and the 3D printed enclosure were worked on and finalized.
Question: What's the cost of making a design with a PCB vendor? How do the costs compare with using an SV2?
Md: For the single prototype we created, a 40mm x 65mm board with gold fingers, we were quoted from the cheapest, $37.25 (7 days), to up to $364.65. Outside of one time costs, using the SV2 would run us about $1.74 per square inch per layer printed, so about $14.00 per board, all in a matter of hours.
