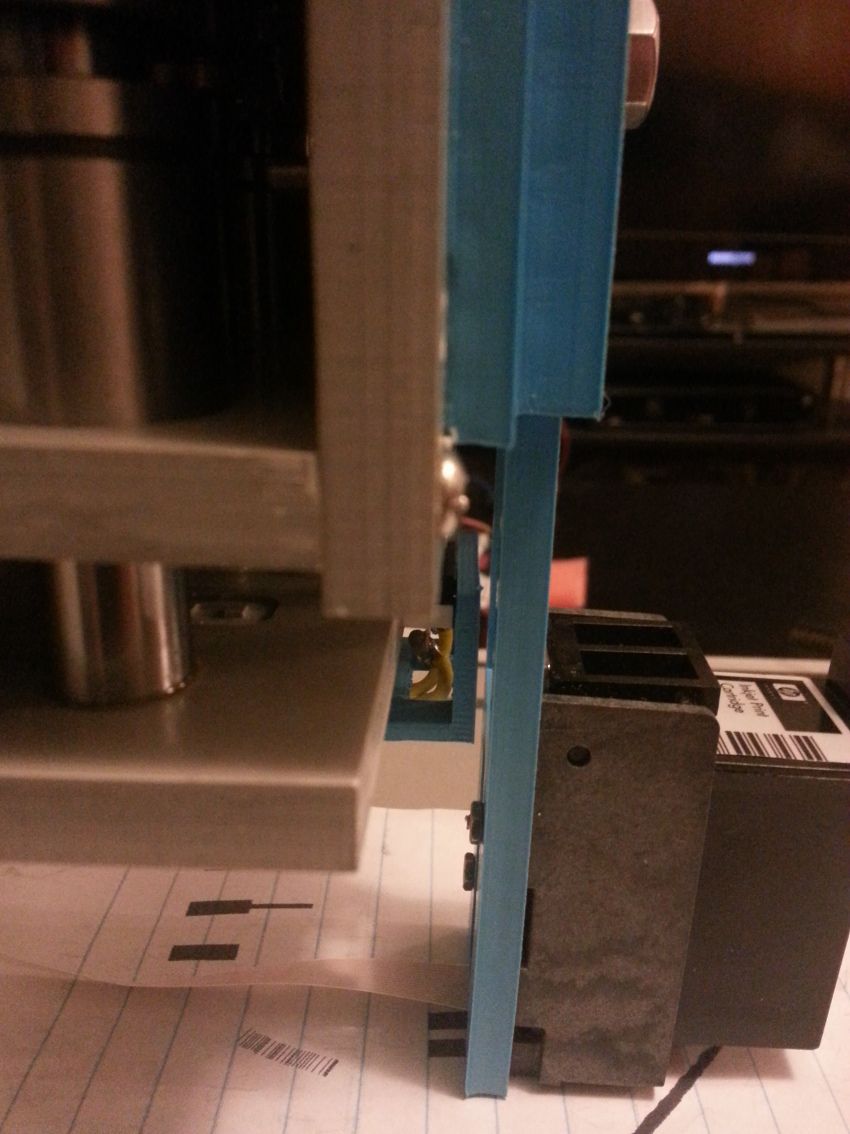
Squink is a complete electronic circuit printer. Our goal is to make hardware design in electronics as seamless as possible. We enable the creation electronic prototypes that can be created in less time than ever imagined and at very low prices. Our technology allows for fast iterations, bringing "Agile" to electronics development. No need to wait for the PCB manufacturers until you are ready for production - we turn the PCB Factory into a PCB Printer. Order your board components online and 3D print your circuit board from your desktop.
Overview
The printer works in 2 stages: printing and assembly. First, conductive ink is laid down on a substrate using inkjet printing. Our printing technology can create traces as small as 10 mils (0.254 millimeters). An insulating layer is used to separate the different copper layers of your board, allowing for multilayer printing.
 |
 |
Second, the electronic components are positioned on the board using the onboard Pick and Place machine. Instead of soldering the parts to the board, conductive glue is used to hold them in place. Home PCB assembly has never been this easy!
Practically
You can connect to the printer using a USB connection or through your WiFi network. A simple interface allows you to configure your printer and start building your own electronic circuits. The printer uses a 100% web bases interface to interact with you and all required processing of the source files is done in the printer's embedded computer. You need not to worry about installing or configuring anything in your computer.
The process begins by uploading a set of Gerber files or any image file describing your circuit.
A preview of the final board and a simulation of the printing process are available to make sure everything will proceed as planned.
The second phase -the pick and place assembly- starts after the circuit is printed. Glue is applied on every pad in the board and by uploading your centroid and rotationg file the printer will walk you through the assembly of every component on your board.
You are now ready to test your board!


